
After my initial experiments with GitHub Copilot in Part 1, I faced a critical realization. The workflow showed promise, but those simple build errors kept disrupting my progress. Something needed to change.
I took a different approach this time. Instead of rushing into the next iteration, I looked into how to better use GitHub Copilot’s coding agent. My goal was simple: to prevent the basic build errors that had affected my previous attempts.
The Core Problem
When you assign Copilot to a GitHub Issue, it immediately starts working. That sounds great, right? But here’s what I discovered: if there’s no specific instruction set for GitHub and no environment to run the code during changes, the output might be incomplete even if it seems everything is ready from Copilot’s side.
Then you pull the changes to your local environment and face simple build errors. Just like mine.
My first goal became straightforward: when I pulled changes locally, everything should be clean in terms of build and test results. To achieve that state, I made few key arrangements in my code repository based on GitHub’s documentation .
Three Critical Optimizations
1. Customizing Development Environment for Coding Agent
Like we software developers need to create development environments, coding agents need them too. But don’t worry, you can get this environment configuration easily [1].
Here’s what I did:
- Browsed Github -> Copilot -> Created new Chat

- Added the repository I was working on
- Prompted: “Create a special GitHub Actions workflow file to reconfigure Copilot’s environment before the agent starts, located at .github/workflows/copilot-setup-steps.yml”
The agent created a YAML file containing all necessary instructions. I reviewed it and placed it in the related folder.
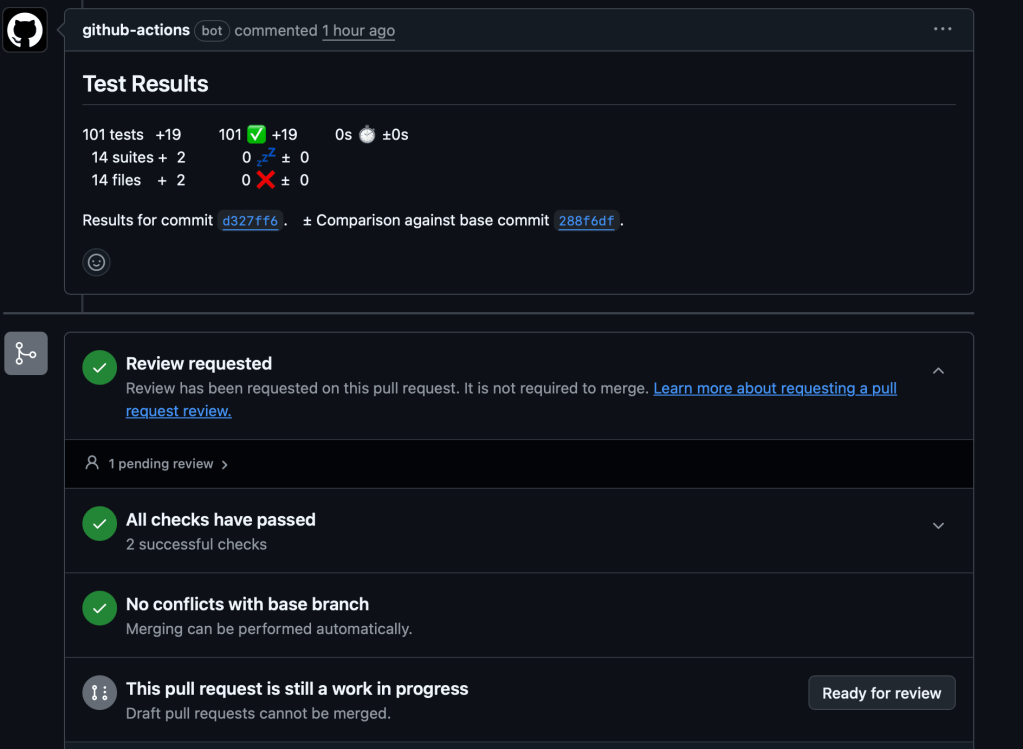
2. Adding GitHub CI Actions to Validate Changes
This step changed everything. I added automated CI to validate builds and tests on PRs. This eliminated the need to pull copilot’s changes locally just to verify they pass.
Even if you’ve configured the development environment, quality gates matter. When each PR is pushed, CI validation steps work to build and run the tests automatically. No more surprises when pulling to local.
3. Creating Custom Instructions for the Repository
I know what you’re thinking: is this really necessary? For solo developers or simple projects, maybe not. But since I wanted to explore full customization, I tried custom instructions anyway [2].
This becomes valuable when:
- You have specific coding standards
- Multiple developers work on the project
- You use uncommon patterns or architectures
- You have domain-specific requirements
- You want to enforce certain practices
The Results
With these adjustments in place, something remarkable happened. I haven’t experienced compile issues or test failures since implementing these changes. The difference was night and day.
But my optimization journey didn’t stop there. My second purpose was to increase the efficiency and outcome of GitHub Copilot’s coding agent. For that, beyond good prompting, you can configure and create your own custom agent definition.
What’s Coming Next
The custom agent definition opened up new possibilities I hadn’t considered. It’s not just about fixing errors anymore, it’s about creating a truly tailored development experience.
I’m planning to write another article about custom agents and how they transform the development workflow even further. The improvements I’ve seen deserve their own exploration.
Want to stay updated? Join the newsletter to get notified when Part 3 drops. I’ll be diving deep into custom agent definitions and sharing the results of my continued experiments.
For now, these three optimizations have fundamentally changed how I work with AI coding agents. The simple build errors that frustrated me in Part 1? They’re history. If you’re experiencing similar issues with AI-assisted development, start with these three steps.
Found this helpful? Share this article with fellow developers who are exploring AI-assisted development. Your feedback and experiences in the comments would be valuable too!
References
[1] Customize the agent environment. https://docs.github.com/en/copilot/customizing-copilot/customizing-github-copilot-agents/customizing-the-coding-agent-environment
[2] Add repository instructions. https://docs.github.com/en/copilot/customizing-copilot/adding-custom-instructions-for-github-copilot#adding-repository-instructions


Leave a reply to derelih Cancel reply